Right! I’ve been neglecting my postings lately and fully admit to the fact! Because of that I’m going to post three different recipes, two of which basically have the same recipe and it’s only a matter of finishing touches.
As aforementioned, the gyoza recipe, and how to make fresh noodles either with or without a machine. I’m also going to start a series of different Japanese foods that I’ve learned how to cook. But first, gyoza!
Gyoza is amazingly simple to make and fresh gyoza makes me droll. If you do not know what gyoza is, it’s very similar to ravoli and is commonly known in America as ‘potstickers’ The recipe I’m going to teach you is a versatile one. It can be used for either gyoza dough or pulled into fresh noodles. It’s even more simple then the bread recipes I posted a while ago. You just need four ingridents.
2 cups of flour (flour with higher gluten are better)
1teaspoon of salt
2 tablespoons of oil or softened butter
~1/2 cup of hot water
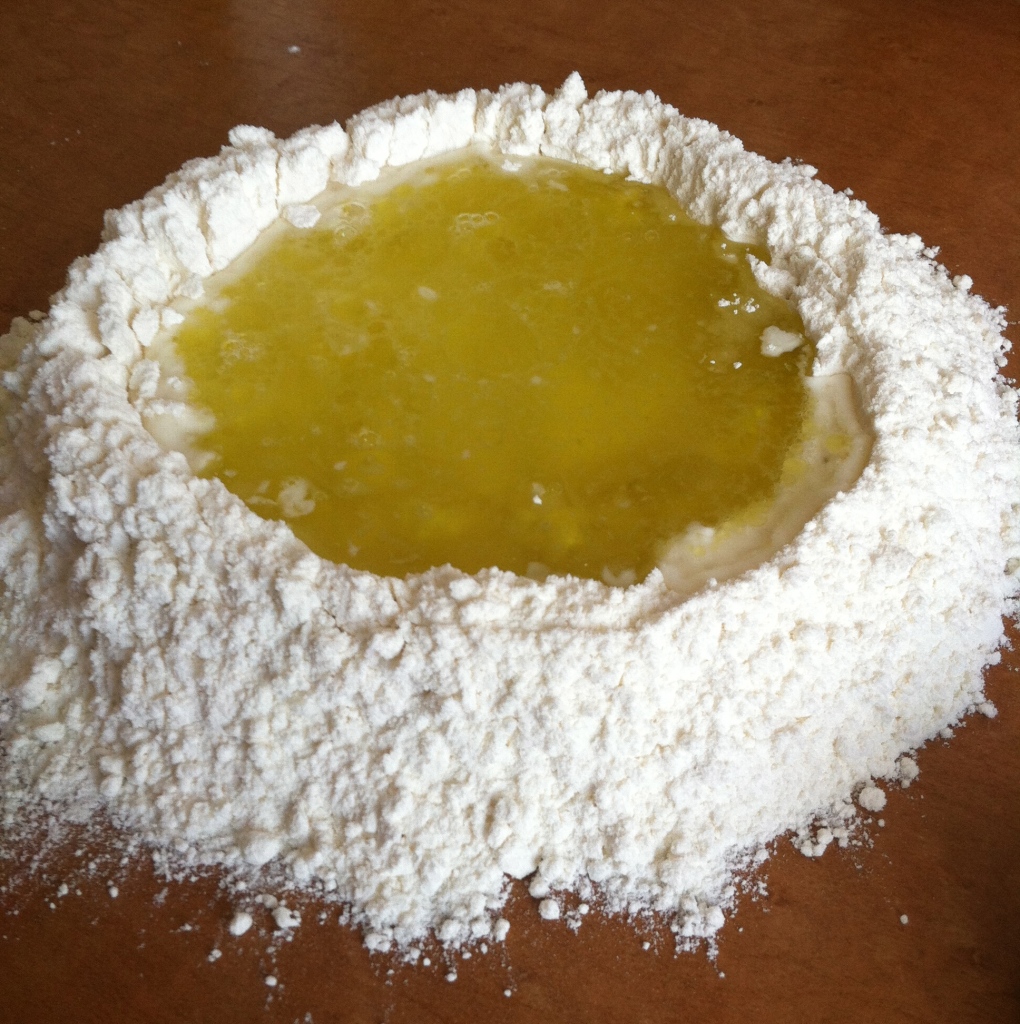
Use a bowl…this just makes for a pretty photo!
Like before with the bread recipes, mix together the flour and salt. You use hands, a whisk or a fork. I personally use a fork. Then make a well in the center of the flour and pour in the oil or softened butter.Next, take the water and add it in slowly. Remember, your water needs will change based on the flour you are using so 1/2 cup is only an approximation!

This is not shiny, nor smooth, keep kneading!
After that’s all sitting neatly, whisk it with your fork (or actual whisk) slowly incorporating the flour a little bit at a time. You’ll make a slurry that slowly turns into dough. Eventually you’ll have to knead by hand and this is the difficult part.
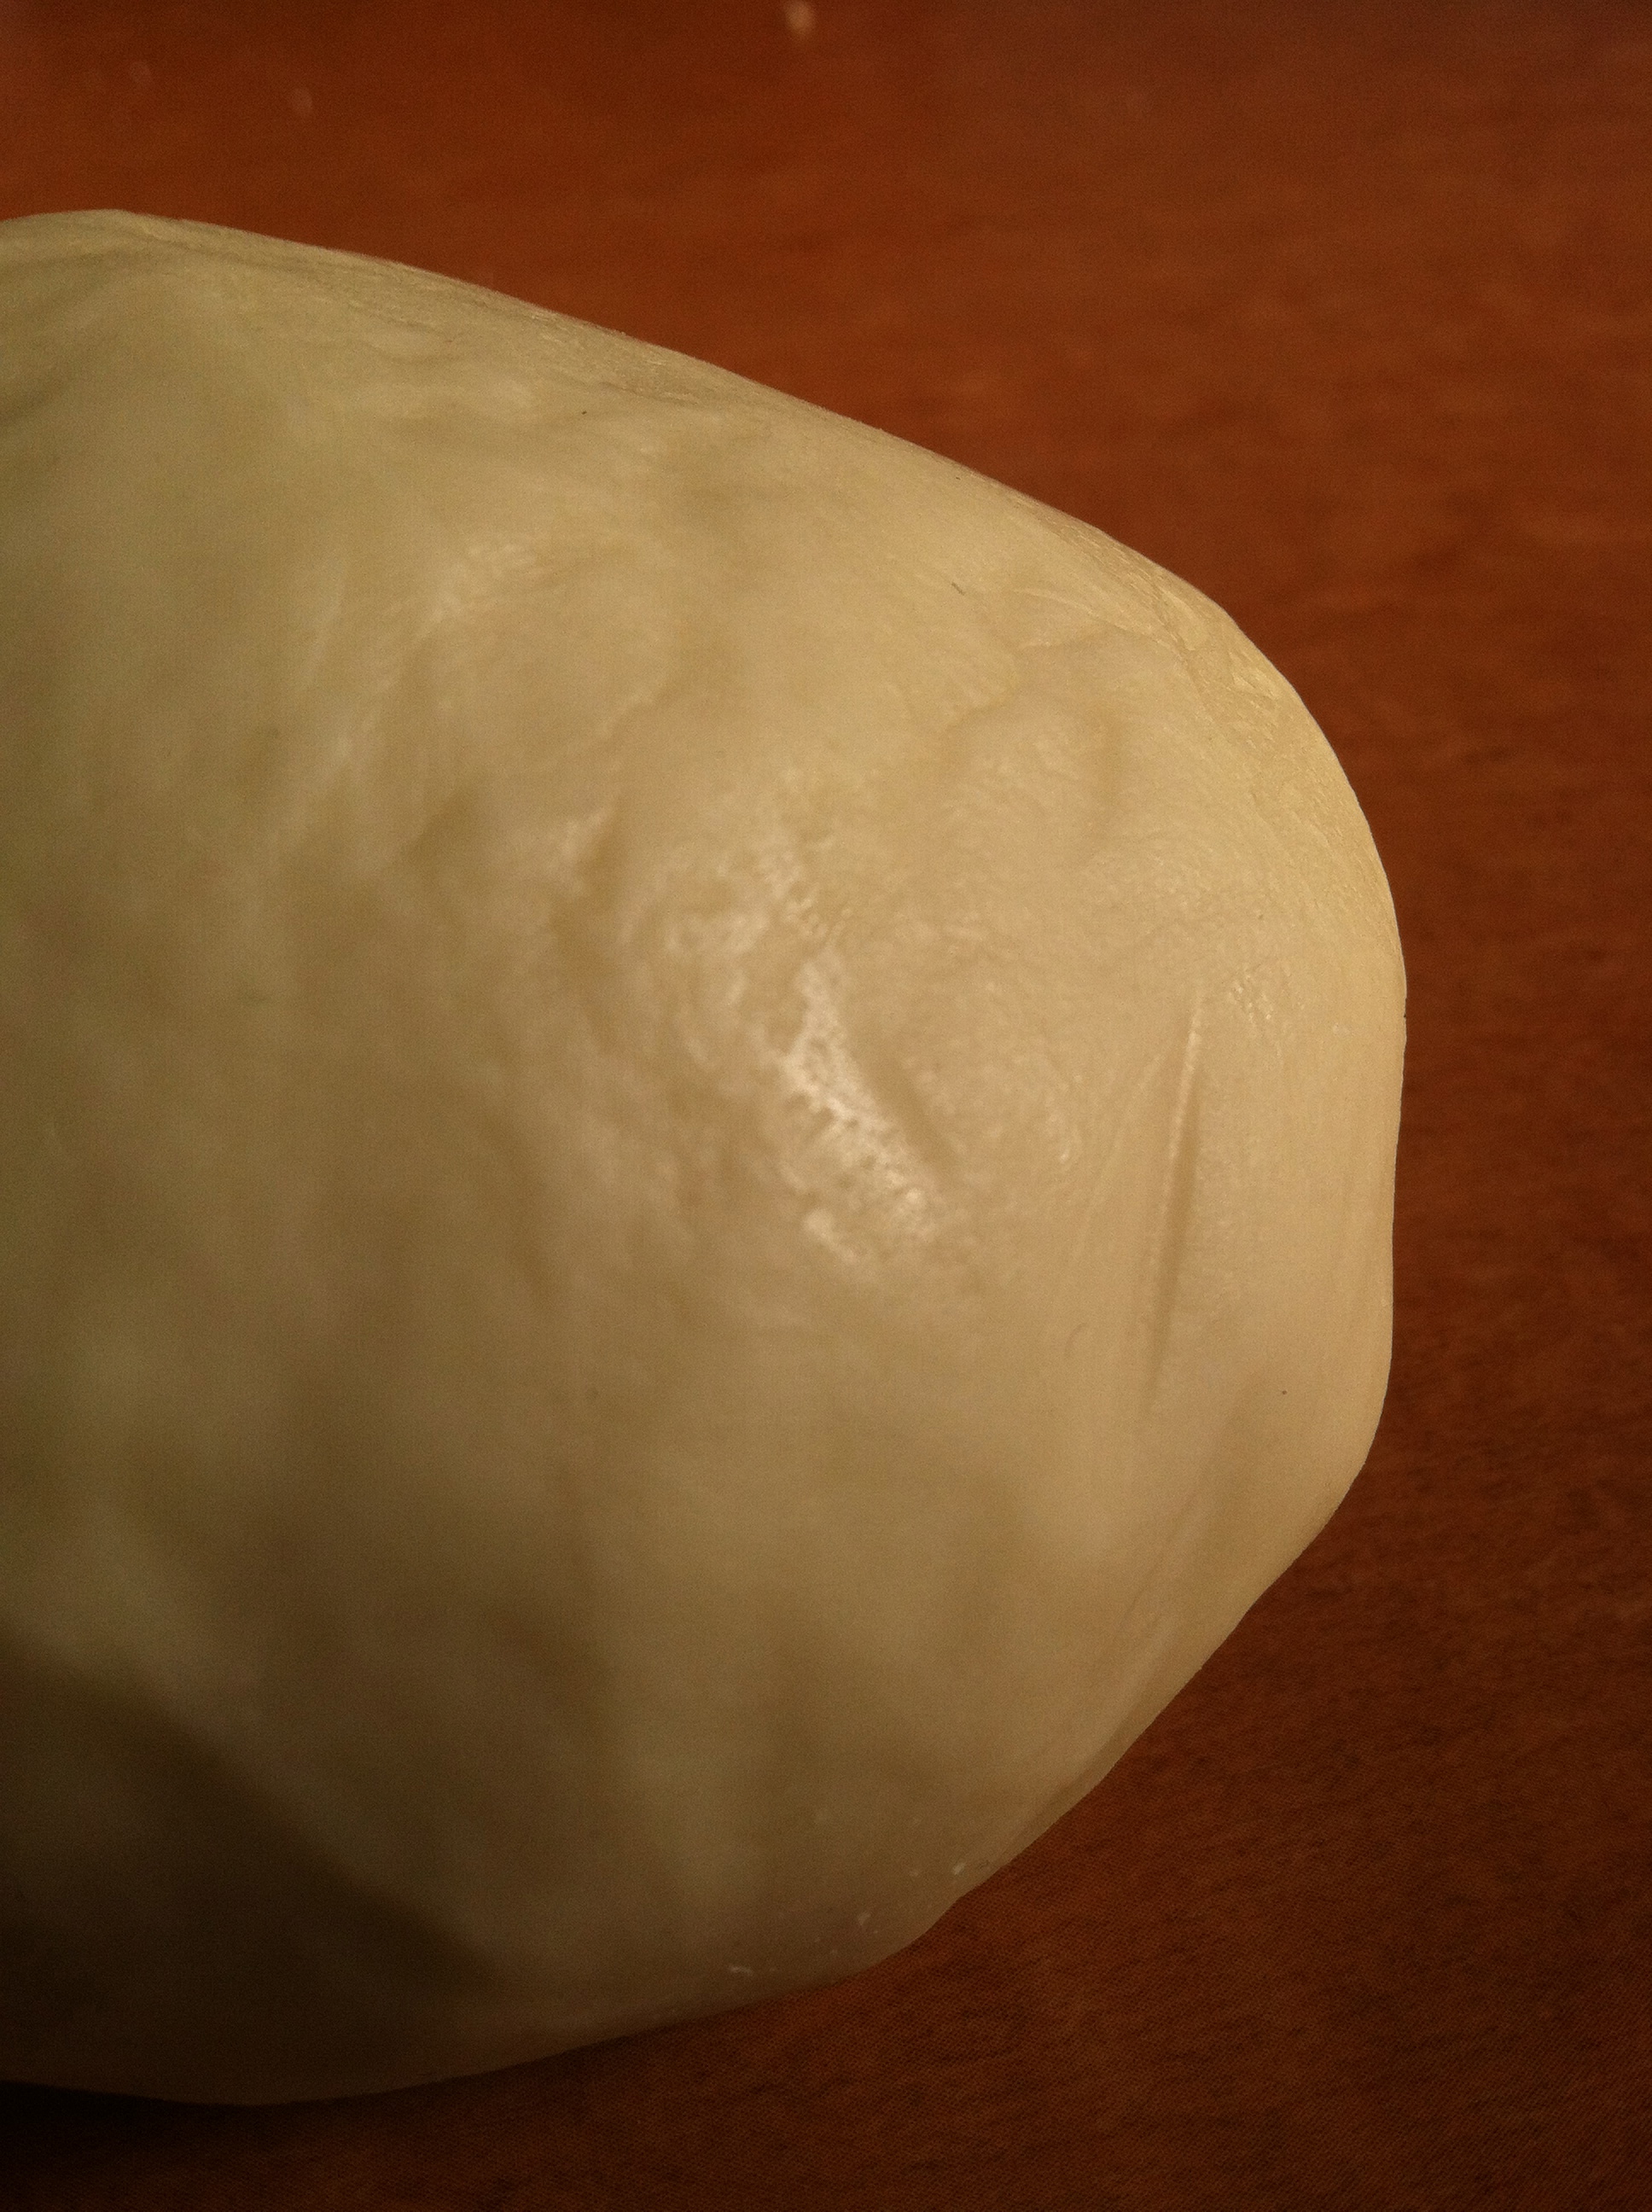
Kneading dough for bread is a very simple process as your are simply getting it to an elastic state. But for noodle dough, you have to knead until it rockets past that into a stiff and shiny ball.

Nice shiny balls…
This is going to take at LEAST 10 minutes. So put on some music and get to folding, punching, rolling or whatever it is that you do for kneading your dough. A trick I learned in Thailand is to put the dough in a bag and use your feet and walk on the dough, repeatedly folding it. In the end though, the dough should not be sticky at all and should feel almost like playdough and look a bit like it too.
Got that? Good! Now wrap the dough in plastic and let it rest for at least 30 minutes. However, I’ve found that I have better results if I place it in the fridge overnight. But it is only a personal preference in how the dough feels to me in this next step. A longer resting time will not change the flavor of this dough much, if at all.
Once your dough is rested, this is where our recipes diverge. The gyoza recipe is as simple as rolling out the dough into a flat sheet and cutting out the shapes you want (hint: circles are wonderful)! The noodle recipe will be primarily the same, but depending on the noodles you want the last steps change.
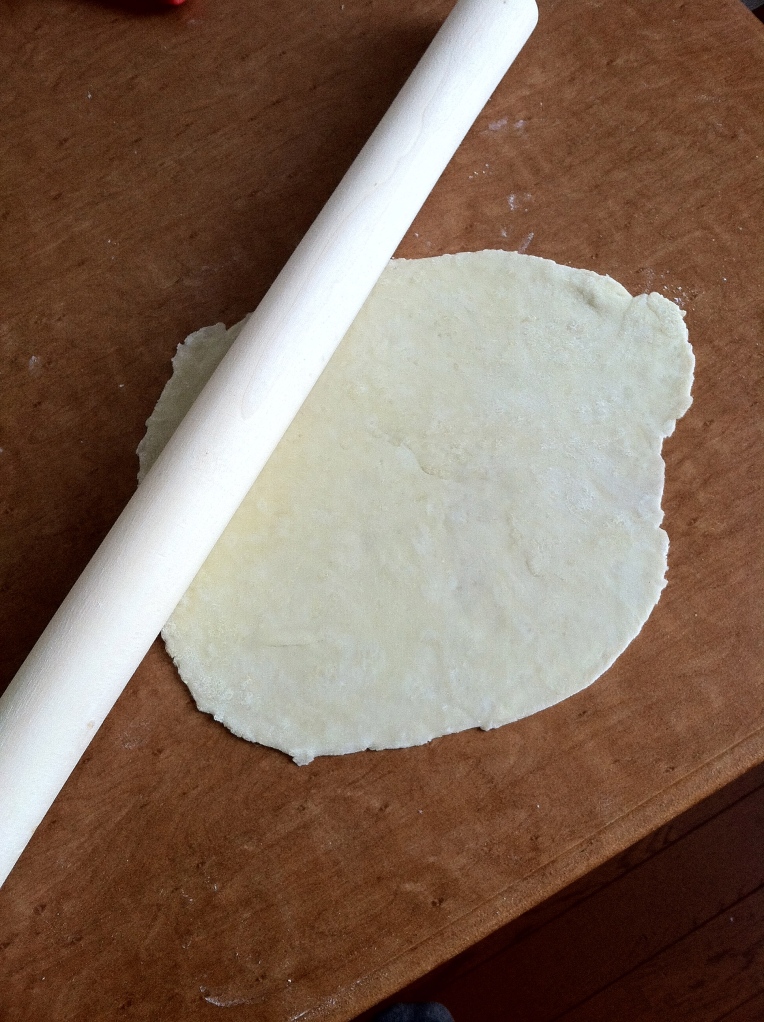
Roll out the dough!
While your dough is resting, you can make a filling for your gyoza. An excellent gyoza filling (and the traditional one in Japan) is a mixture of pork, scallions, leeks, ginger and various sauces.
Here’s the base recipe:
Filling:
1/2 lbs of ground pork/beef/chicken or tofu
1/4 cup of minced scallion
1 cup of minced leeks (I prefer using cabbage myself)
1 egg
Sauce:
1 teaspoon of minced ginger
1 teaspoon of sake (dry sherry works too and in a pinch use rice vinegar)
1 teaspoon of mirin (sugar works too!)
1 tablespoon of shoyu (soy sauce)
1 tablespoon of dark sesame oil
1 teaspoon of pepper
salt to taste
Simply mix everything together and you have a traditional Japanese filling. A note though, the sauce is quite tasty and can be used in other things too. The sauce alone can easily be refrigerated for a few days for future meals.

It fits so nicely in my containers when I’m meticulous!
Okay. Now comes the tricky part of gyoza. Actually stuffing the things. At this point, your dough should be rolled out and cut into shapes. Like I mentioned, I use circles because I can just fold the gyoza in half. But whatever shape you choose, make sure to slightly wet the edges of the dough before stuffing. It will allow the wrapper to cling to itself. Once you have that, just press the edges together with a fork (same as ravoili).

This is how your Gyoza should look in the pan. Seams up!
So now we have a horde of gyoza. The trickiest part is correct cooking. Place them in skillet with the seams up!! Cook until the bottoms are lightly browned and then pour in about a 1/4-1/2 cup of water (depends on how many you can fit in your pan) and put a lid on it. This is going to steam the gyoza and change it from dough into a noodle-like glory. Keep the lid on until the water is totally evaporated. Done!

Nothing is better then fresh noodles
And the noodles part. The noodles are going to require a lot of rolling and pulling. It’s not hard at all, just time consuming. I promise though, you will never want store bought pasta again.
First step is to divide your dough into whatever you think is manageable. I tend to just cut it in half. If you have a pasta machine, chances are you know how to use it. So I’m going to focus on the hand method.

Roll out the dough into long flat sheets. A good way to check consistency is fold the corner and if it keeps shape, you’re good!
Roll out the dough, flipping and alternating sides until you have a long rectangle that is slightly translucent. You can’t see though it, but it is very close to being that thin!
Then, if you have a pasta machine, feed it though the setting of your choice. If you don’t have a machine, you can either slice the noodles while it’s rolled out or fold the dough into thirds and cut from there. Don’t make the noodles to thin though, otherwise it is impossible to pull them without breaking!
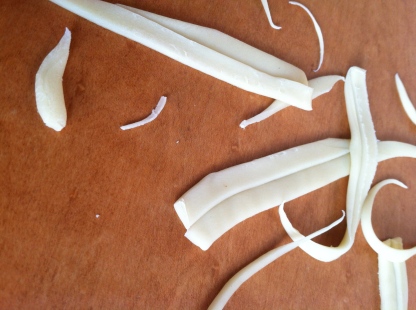
These look horrendous but taste beautiful!
Once your noodles are cut, let them rest for about 10 or 15 minutes. Then grab either end of a noodle and stretch it. You’ll be amazed at how much stretch they have…but don’t over do it. This is only the first pull. Once you’ve pulled all your noodles once, let them rest again and repeat the process. Depending on the thickness of your original noodle, you might be able to get a third pull, but don’t push it.
Once your noodles are properly pulled, drape them over dowel rods or a hanger. Anything with a thin cylindrical shape works wonders. Then it’s just a matter of drying them!
A word to the wise though, if your noodles dry to fast then they will twist and curl slightly at the bottom.
Not necessarily a bad thing ( I personally think it looks beautiful) but it will make it harder to store them. Prevent this by slowing the drying process either by placing them somewhere cooler, laying them on a flat surface or pressing them in between solid objects.
You will get ends and uneven pieces, which is just fine. They aren’t pretty, but in a bowl of noodles you won’t know they are there and taste the same!
That’s it! Either cook them immediately or store them once totally dry!
Happy cooking!!! Next post? Fresh Yogurt!